(available in ![]()
![]()
![]()
![]() )
)
If you have access to digital images for your clients, the Pictorial Directory can be a great product that you can provide to your clients. It can be printed, placed on a CD, or uploaded to a website. What is a Pictorial Directory? It is a document you generate that includes an image of each client along with customized text that appears below each image.
Here’s how it works. For each client that you want included, you must select a primary image. This can be done by clicking Client Image on the File group of the Client record or by right-clicking on an image on the Session > Images tab and clicking Make This Image The Main Client Image. To confirm that a client has an image selected, go to the File group and click Client Image on the Client record. Once your clients have a main client image selected you can create a Pictorial Directory.
 |
PATHWAYS TO SUCCESS
Be creative with how you use Pictorial Directories. Sell it as an actual product to generate additional revenue or give it to your client as an incentive or perk. Here are some examples of how you can use this exciting product:
|
Go to Reports > Pictorial Directory.
Select a Client Group, Session Promotion, or Filter from one of the drop-down lists.
Under Display Options, select how many rows and columns you want to appear on each page.
Enter the image dimensions and margins.
Most importantly, click Edit Image Captions to determine what text you want to appear under each image.
Then click Preview Report to see a preview.
You can print the report or export it to a PDF file.
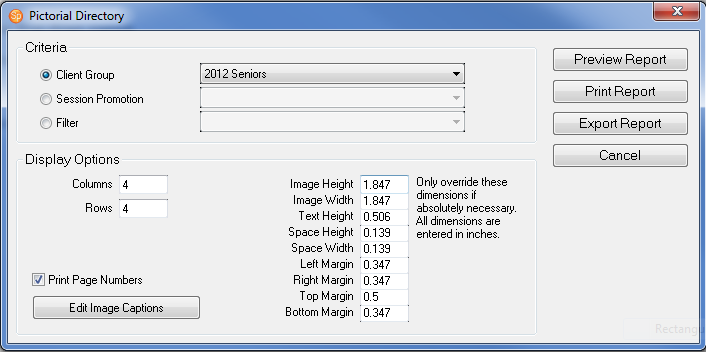
Pictorial Directory Report Setup
![]()