(available in ![]()
![]()
![]()
![]() )
)
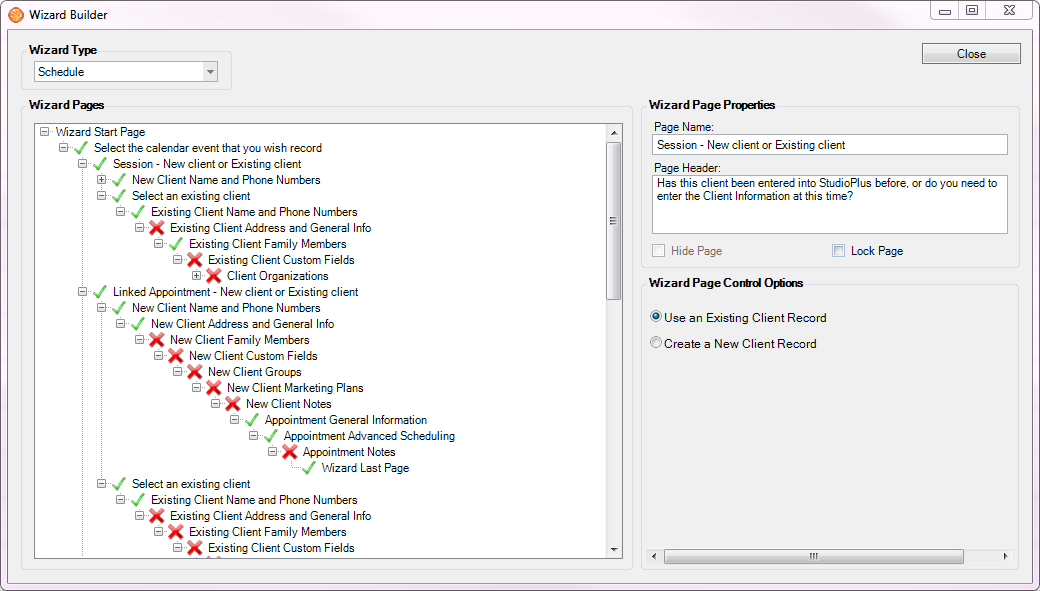
Spectra is well known for its easy-to-use wizards to help you quickly and accurately enter data into the program. The Wizard Builder allows you customize these wizards to fit your studio.
Click Tools > Wizard Builder. Open the Wizard Type drop-down list at the top of the screen to select the wizard you want to modify.
Expand Branches - In the Wizard Pages section, there may be a plus sign next to some of the pages. Click the plus sign to see additional, related pages.
Wizard Page Properties - For each page in the wizard you can modify the Page Header that appears at the top of the page when you're using the wizard. For example, on the appropriate client page you can put a note in the header to remind your employees to get an email address. Note: You can also require certain information to be entered by using Spectra's Data Entry Validation options found in Maintenance > Studio > Data Entry Validations.
Hide/Show Pages - You can choose to Hide certain pages that may not pertain to your studio or Show pages that may be hidden by default.
 |
HERE'S A FLASH FOR YOU!
If Data Entry Validation has been set up for one or more fields on a wizard page that has been hidden, the user will not be prompted or required to enter that information. |
Page Control Options and Required Pages - There are some pages in each wizard that are required and cannot be hidden. However, many those pages will have control options that allow you to choose one or more default selections. For example, if your studio rarely creates a session fee invoice, you can set the default selection on that page to Don't Create an Invoice at this Time.
Close the Wizard Builder by clicking X in the upper-right corner.
Wizard Builder
![]()