Press Next
Client Selection
Screen: On this page you can choose which clients you will
communicate with. You can sort by client group, client status, marketing
plan, and a filter. Make your selection from the drop-down box then
check the group, status,
plan, or filter
you want to communicate with. Press Next.
Specific Client
Selection Screen: On this page you can choose which individual
clients you want to include. This is based on your choice of client group, client
status, marketing plan,
or filter. You can choose
to check/uncheck individual clients or select all/unselect all in
the upper right. Click Next.
Communication
Type Screen: On this page you can choose how you want to communicate
with your selected clients. You can choose to send a group Email
or SMS Text Message,
create Phone Calls, or print
Form Letters for the group.
Select Emails and click Next.
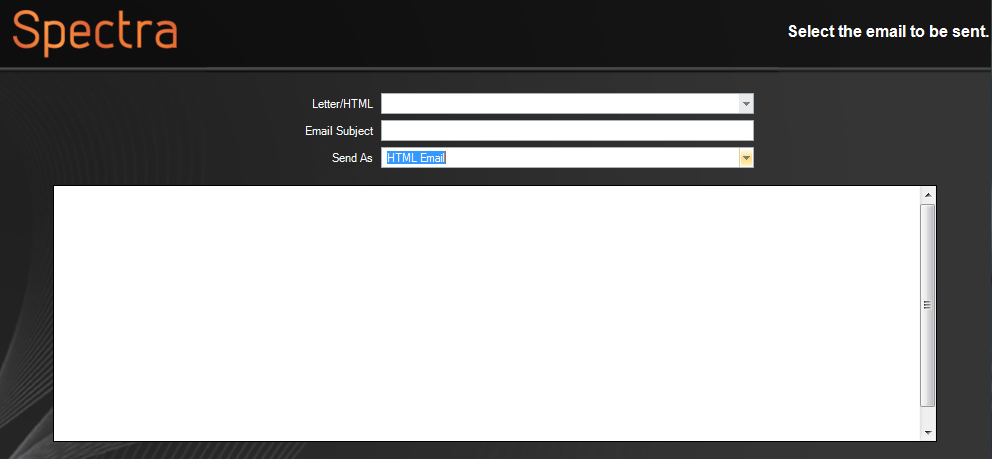
Email Draft Screen:
On this page you are drafting your email you are going to send to
all the chosen clients.
Press Next
Client Selection
Screen: On this page you can choose which clients you will
communicate with. You can sort by client group, client status, marketing
plan, and a filter. Make your selection from the drop down box then
check the group, status,
plan, or filter
you want to communicate with. Press Next.
Specific Client
Selection Screen: On this page you can choose which individual
clients you want to include. This is based upon your choice of client
group, client status, marketing plan, or filter. You can choose to
check/uncheck individual clients
or select all/unselect all
in the upper right. Click Next.
NOTE: Clients must have their SMS
text messaging check box checked on the client form next to their
phone numbers, otherwise they will not receive the message.
Communication
Type Screen: On this page you can choose how you want to communicate
with your selected clients. You can choose to send a group Email
or SMS Text Message,
create Phone Calls, or print Form Letters for the group. Select
SMS Test Messages and click
Next.
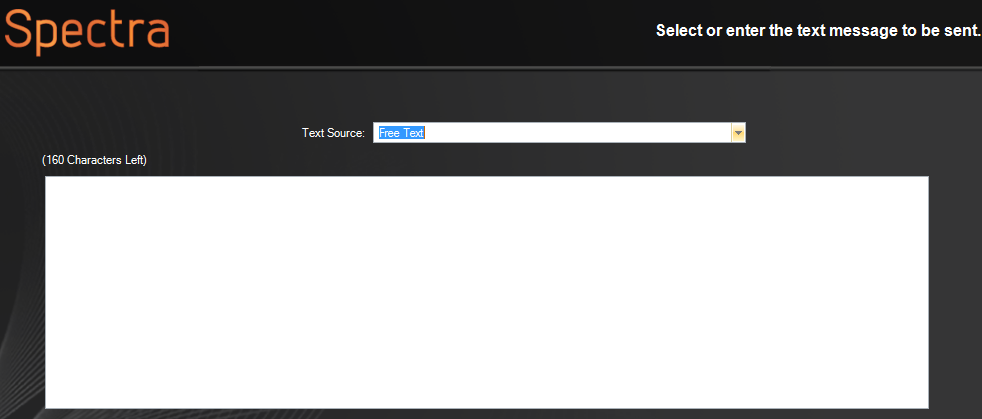
Text Draft Page:
On this page you can create the text message you are going to send.
Press Next.
Client Selection
Screen: On this page you can choose which clients you will
communicate with. You can sort by client group, client status, marketing
plan, and a filter. Make your selection from the drop down box then
check the group, status,
plan, or filter
you want to communicate with. Press Next.
Specific Client
Selection Screen: On this page you can choose which individual
clients you want to include. This is based upon your choice of client
group, client status, marketing plan, or filter. You can choose to
check/uncheck individual clients
or select all/unselect all
in the upper right. Click Next.
Communication
Type Screen: On this page you can choose how you want to communicate
with your selected clients. You can choose to send a group Email
or SMS Text Message,
create Phone Calls, or print
Form Letters for the group.
Select Phone Calls and click
Next.
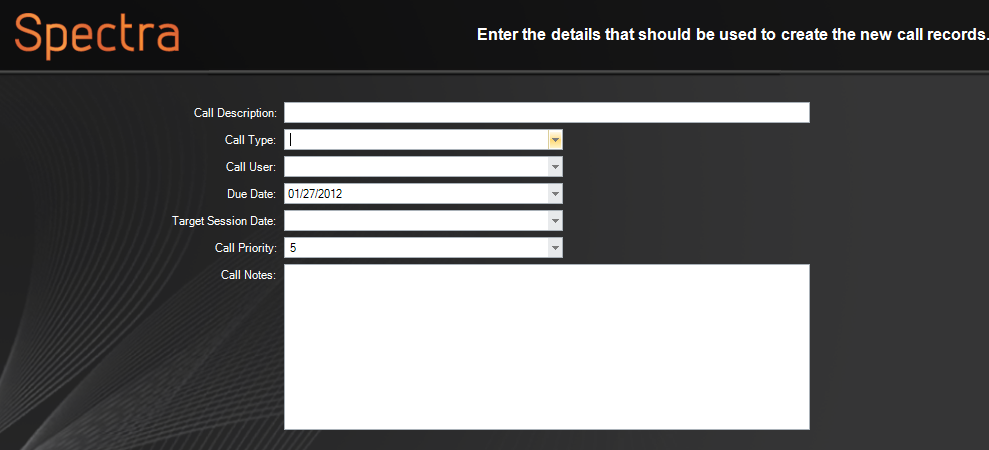
Call Draft Screen:
On this page you set up the call that will be added to your call list
for each of the clients chosen.
Press Next.
Client Selection
Screen: On this page you can choose which clients you will
communicate with. You can sort by client group, client status, marketing
plan, and a filter. Make your selection from the drop down box then
check the group, status,
plan, or filter
you want to communicate with. Press Next.
Specific Client
Selection Screen: On this page you can choose which individual
clients you want to include. This is based upon your choice of client
group, client status, marketing plan, or filter. You can choose to
check/uncheck individual clients
or select all/unselect all
in the upper right. Click Next.
Communication
Type Screen: On this page you can choose how you want to communicate
with your selected clients. You can choose to send a group Email
or SMS Text Message, create Phone Calls, or print
Form Letters for the group. Select Form
Letters and click Next.
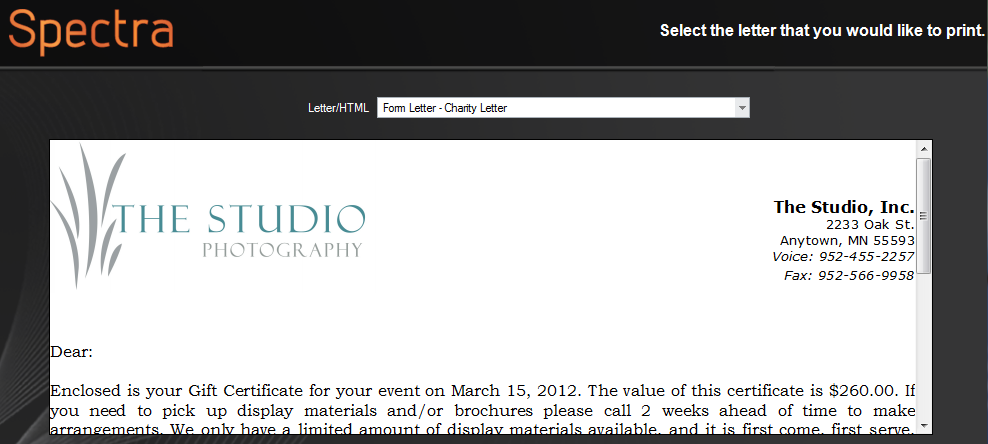
Letter Draft
Screen: On this page you can choose a form letter or HTML email
to print.